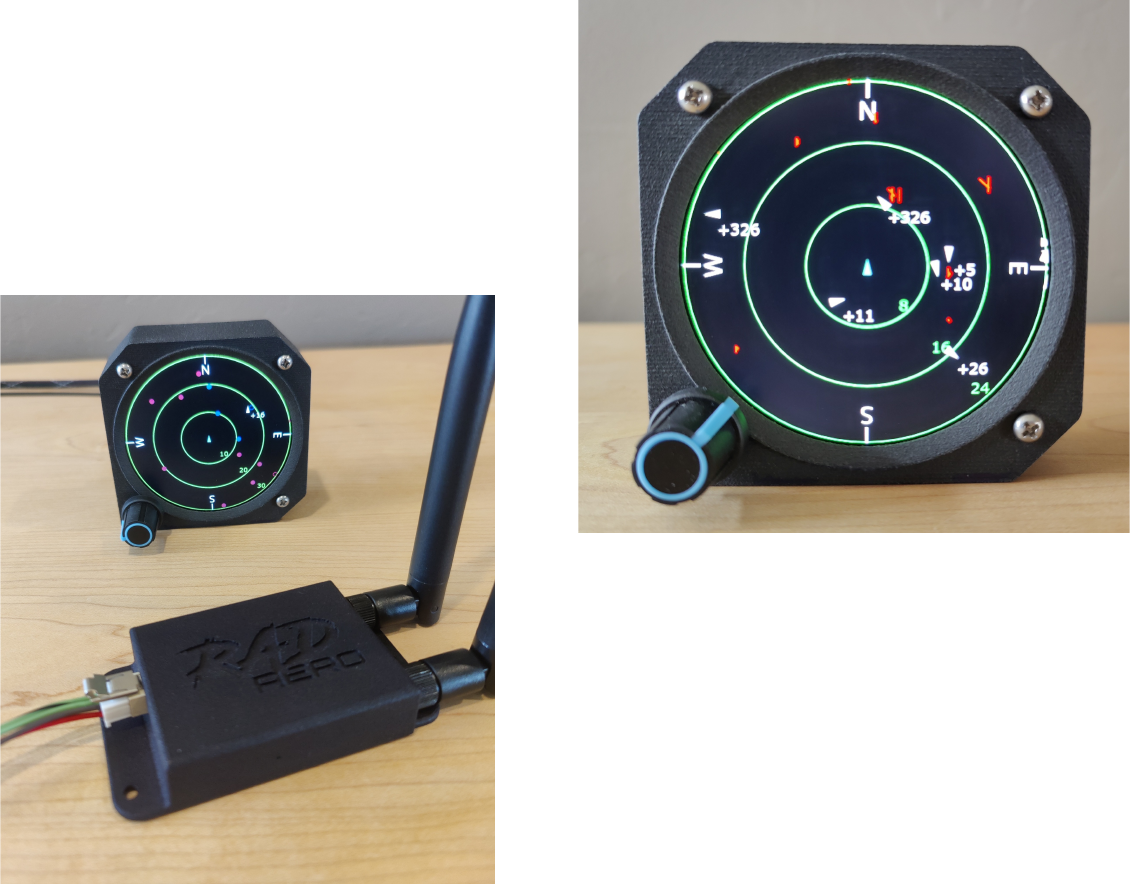
AwesomeADSB installation
Wiring
Power the receiver from a 9-36 V DC supply, with a 1 amp breaker or fuse on the power wire.
| Pin | Function | Color |
|---|---|---|
| 1 | Voltage supply, switched | Red |
| 2 | No connect | |
| 3 | No connect | |
| 4 | Ground | Brown |
| 5 | RADbus high | Green |
| 6 | RADbus low | Green / Black |
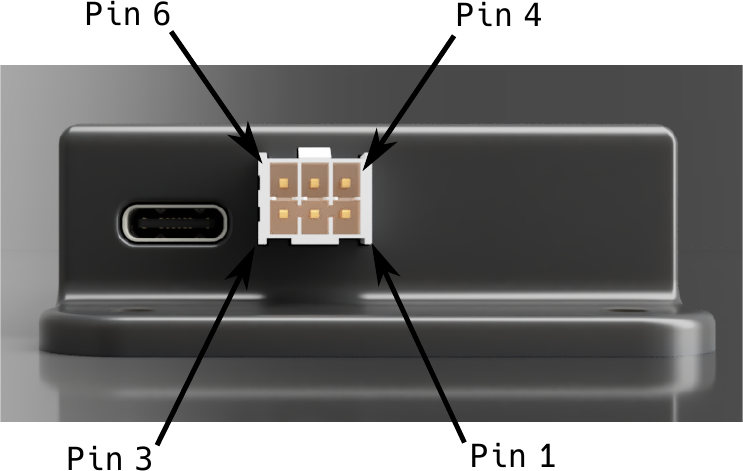
The receiver can also be powered from the USB-C connector, but this is not recommended when connected to an AwesomeEFIS because it may result in poor communication.
Connecting to an AwesomeEFIS
- Splice the RADbus high wires together and the RADbus low wires together.
- Power the receiver and EFIS from the same 1 amp breaker or fuse, or wire them independently.
- Set RADbus termination.
No other configuration is needed. The receiver gets its ownship information from the EFIS settings.